When many devices are connected to the same network then the bandwidth is shared among the devices and any device which is using high-bandwidth applications such as torrent or video streaming then all of the bandwidth will be directed towards that device and hence, it will impact the connectivity and speed of all the other devices on the network.
This can be avoided if you set up bandwidth control on your router. With Bandwidth Control, you can assign a specific minimum or maximum bandwidth for each device and that device will not be able to use bandwidth exceeding that limit.
How to Setup Bandwidth Control on TP-Link Router?
To set up Bandwidth Control on your TP-Link Router, follow these steps: (Make sure that you’re connected to your TP-Link network, either wirelessly or through an Ethernet Cable)
- Open a web browser.
- Head over to http://tplinkwifi.net.
- A login page will appear. Log in using the default username and password. (The default username and password are both admin)
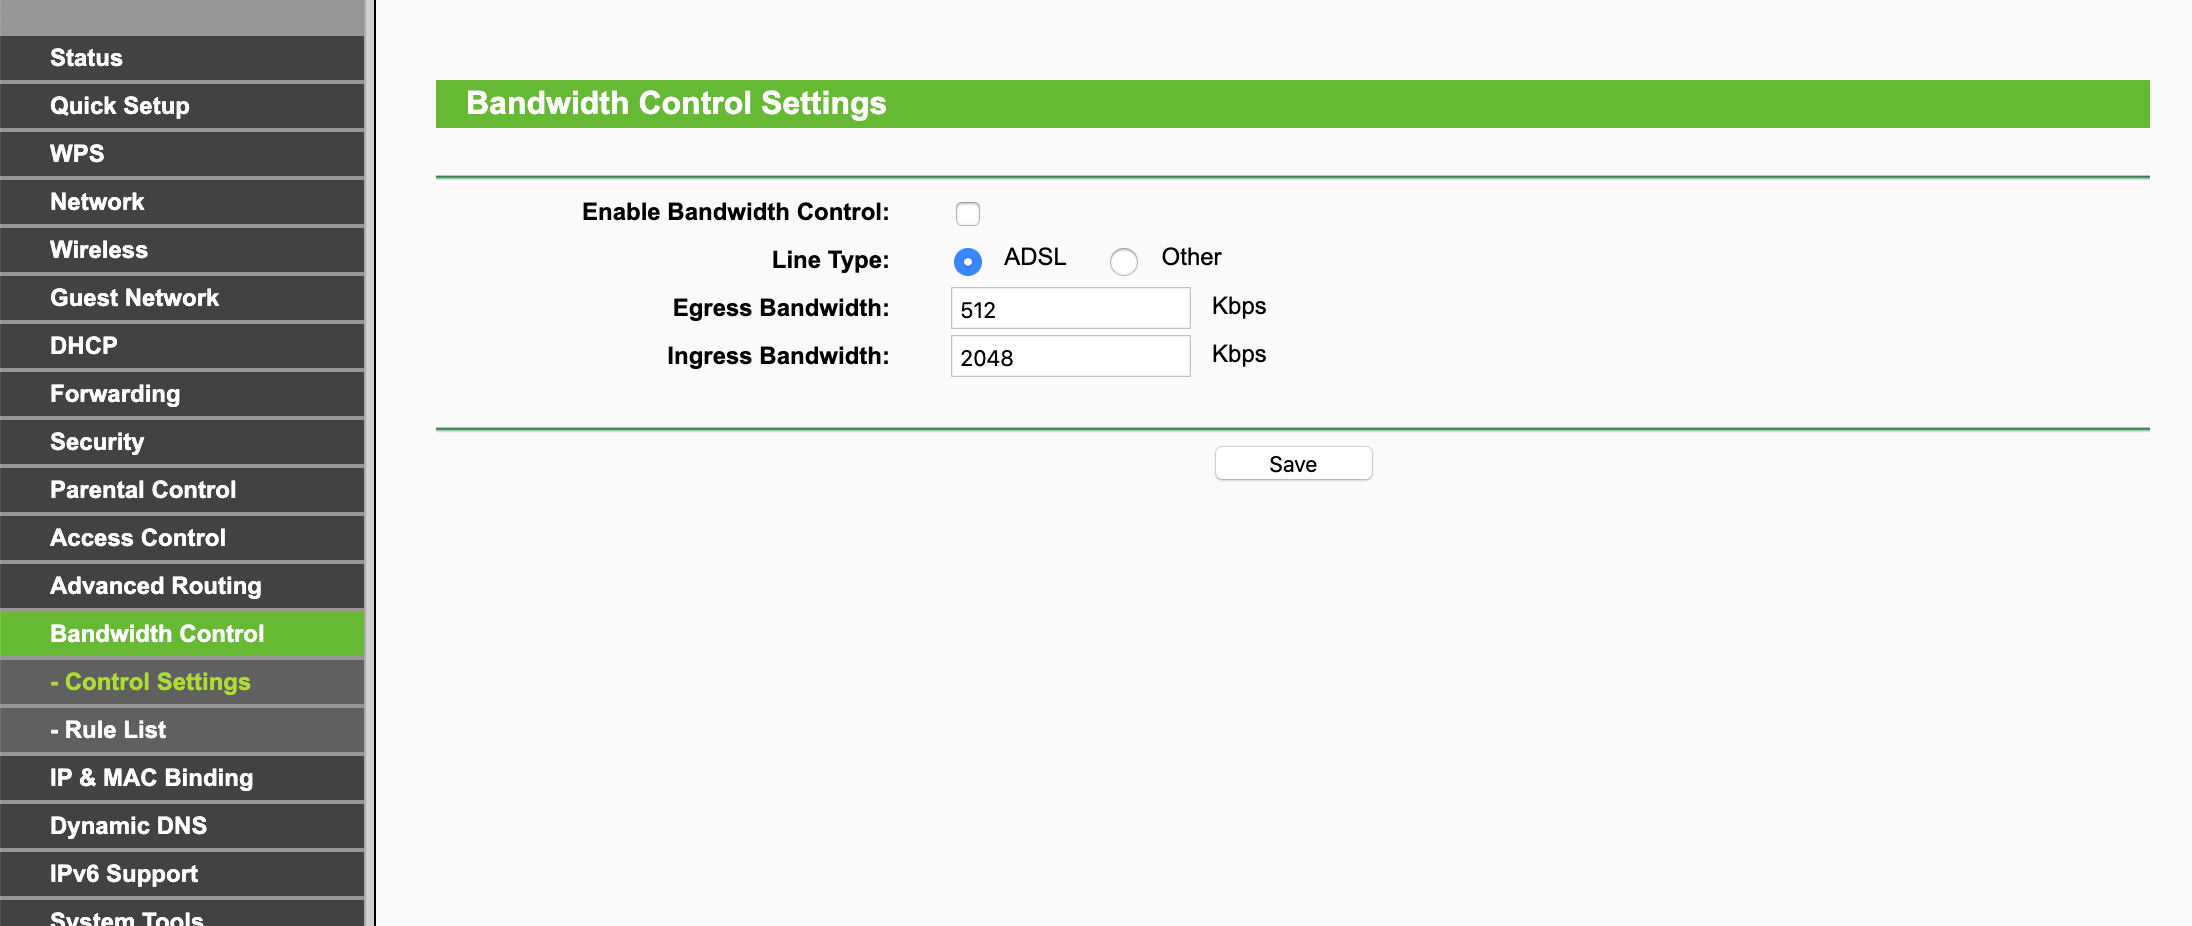
- Once logged in, go to Bandwidth Control-Control Settings section.
- Click on the Enable Bandwidth Control checkbox to mark it.
- Select your Line Type.
- Type in the Egress Bandwidth and Ingress Bandwidth in the given fields. (Egress Bandwidth means the upload speed provided by the ISP while Ingress Bandwidth means the download speed provided by the ISP. Type the real bandwidth values in the given fields as provided by your ISP)
- Click on Save to save the settings.
- Now, go to Bandwidth Control > Rules List.
- Click on the Add New button.
- Enter all the required information in the respective fields. In the Egress and Ingress Bandwidth fields, type the minimum and maximum that you want to allot to a specific device.
- Once done, click on Save.
- You can add more entries for other connections.
