If you have kids in your home then it is important that you set up Parental Controls on your Router and access what kind of stuff they are exposed to. It is important to control the websites that your kids visit when using the internet so, you should enable and set up Parental Controls on your Router.
How to Setup Parental Controls on TP-Link Router?
To set up Parental Controls on your TP-Link Router, follow these steps:
- Launch a web browser.
- Head over to http://tplinkwifi.net.
- A login page will appear, asking you to enter the login username and password.
- Enter the login username and password to proceed further. (The default username and password For TP-Link devices is admin.)
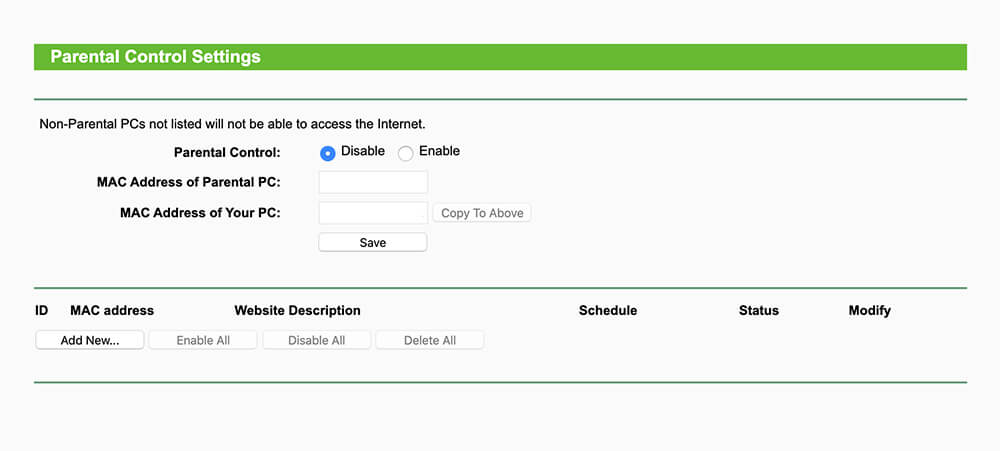
- Now that you have logged in, go to Basic/Advanced > Parental Controls > Enable Parental Controls.
- Click on Add.
- Click on View Existing Device and select the device for which you wish to set up Parental Controls or you can manually add the Device Name and MAC Address.
- If you set up the Parental Controls for a specific time then you can click on the “clock icon” to set up the specific time.
- You can also add a description in the given box. (optional)
- Now, select the type of restriction, either Blacklist or Whitelist.
- When you select Blacklist then the selected devices won’t be able to access any website containing the specified keywords during the Internet Access Time period
- When you select Blacklist then the selected devices would be able to access only the websites containing the specified keywords during the Internet Access Time period.
- Click on Add a New Keyword to add new keywords. Up to 32 keywords can be added.
- Enter the keywords or websites that you want to add and click on Save.